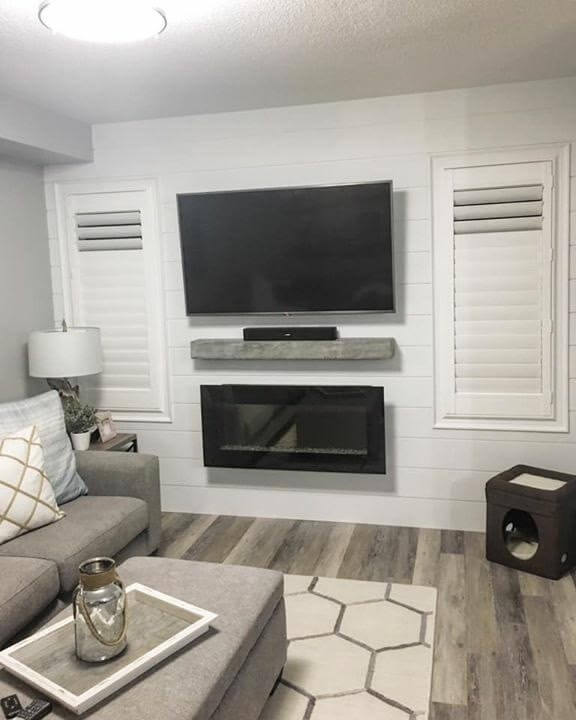
AFTER
AFTER
STEP 1:
-Cut your plywood to the desired dimensions.
TIP: Average mantels have a depth of 5”-8” and should (in my opinion) be cut 2”-3” short of the edge of the chimney or to match the length of the fireplace – whichever makes more sense from an aesthetics standpoint.
-Rip your plywood on a 45 degree angle (also called a mitre) so you have three long strips: a top, bottom and “face.” The face should have the long cut of the mitre on both sides of the piece.
-The top/bottom pieces should have the long cut of the mitre at the front of the pieces and the backs should be left flat (no mitre).
-Cut a scrap of plywood that is 6” shorter than your mantel and rip it to 6” wide. Then set your saw to 45 degrees and rip the piece down the middle, so you are left with two 3” wide pieces with a long mitre on each. Save this for later – we will be using this as a French cleat to hang our mantel.
-Mitre all four sides of the end caps to the desired dimensions.
STEP 2 (SHAPING):
-On the face piece, place tape along the mitre cuts so that half the tape is along the long part of the mitred cut. Lay piece face down and align the seams of the other cut boards so they overlap the other half of the tape. You should have a “V” groove with the two long points of the wood touching. Tape on both sides of the wood (repeat this step for the top and bottom pieces). -Lather glue on both sides of the “V” groove and fold the wood until all of the seams close. You should have a “U” shaped piece.
-Ensure the ends line up flush and glue the end caps on using the same technique. Let glue dry overnight.
STEP 3:
-The next day, untape your mantle and sand with a 150-grit sandpaper. You can make your mantel look more rustic by distressing it in various ways; hitting it with tools, using saw blades, chisels, screws in an old sock and hitting the piece, etc. or you can leave it clean.
STEP 4:
-Attach the French cleat cut to the back of the top piece by gluing it to the inside of the beam. The long part of the mitre should be pointed toward the bottom of the piece and that side should be flush to the back of the mantel.
-Add screws/brad nails through the top of the mantel to hold the cleat in place until the glue dries.
-TIP: measure and mark centre on the cleat and do the same on the back of the mantel. Align those two marks to ensure the cleat is centred on the mantel. Repeat this step on the wall/space you wish to hang your mantel.
Step 5:
-Once the glue is dry, cover your mantel with Varathane Wood Grain Enhancer as per instructions on the label. Let dry and sand lightly with a 180-grit sandpaper.
-Wipe clean and apply Varathane Diamond Wood Finish. I personally like to use three coats and sand with 180-grit sandpaper between them. I find this gives great protection and will ensure that no spots were missed in the finished process.
-Once the last top coat is dry, apply Varathane Premium Wood Putty into the nail holes to fill any voids.
Step 6:
-Install the other cleat onto the desired space, as mentioned in step 4, with the long point of the mitre point up and away from the surface. You should have a “V” groove between the cleat and the wall once installed.
-Then, simply hang your mantel onto the cleat.
Visit Rust-Oleum Canada and Remarkable Woodworks on Instagram for more tips and inspiration!
#WE_WOOD
Other Materials:
- Hallow
- Sander with 150 and 180 Grit Sandpaper
- Half Sheet of 3/4" Plywood
- Saw (Track Saw/Table Saw)
- Safety Equipment
- Tape Measure
- Painter's Tape
- Wood Glue
- Clamps
- Gloves
- Pencil
Locate a Rust-Oleum Retailer