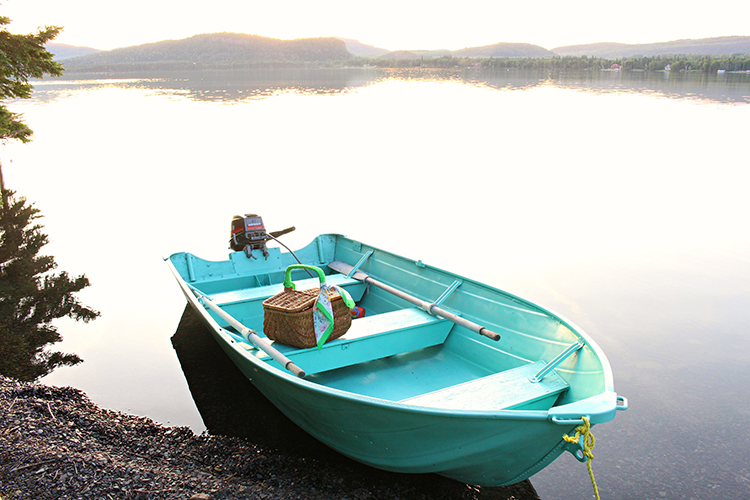
After
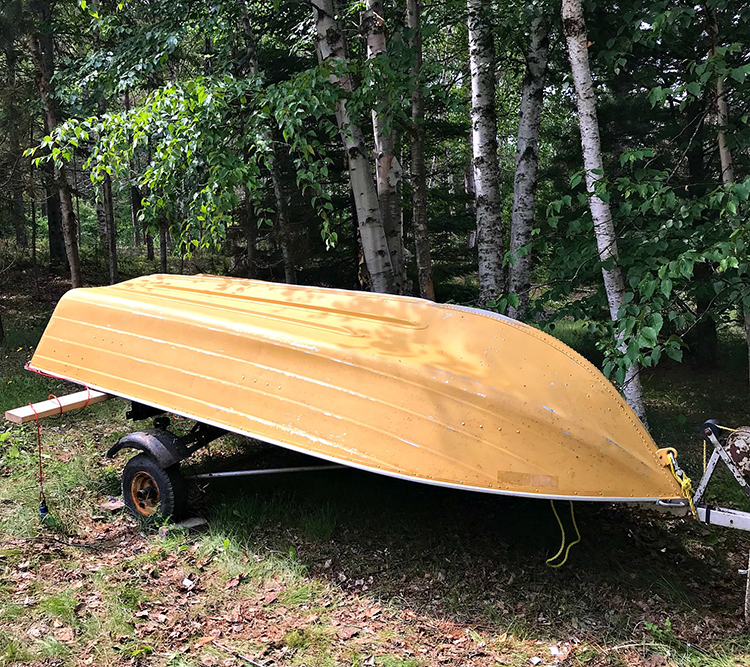
Before
Last summer my husband and I were given a cute little aluminum boat by my father-in-law. Because we park the boat on the lawn all year round, I wanted to give it a new makeover that would match the house exterior. I worked on the boat in stages, tackling the outside first and then flipping it over to work on the inside.
-
Give the exterior a really good scrub, beginning with a sanding pad that can attach to a drill (I found it in the automotive section and it's designed to sand paint from vehicles) to remove loose paint and dried-on algae, and then follow up with a thorough wash. You can use a soap intended for cleaning boats – there are many biodegradable options designed to remove algae and other lake goo. Dish soap works just fine, too! I finished the deep clean with a pressure washer and let the boat dry for a day.
-
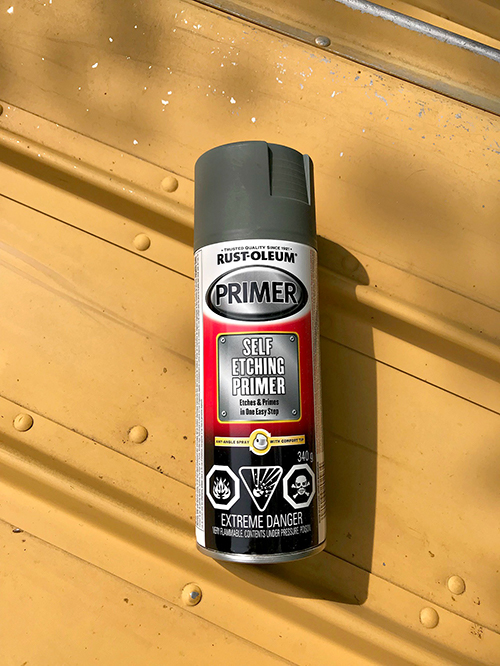
Next apply the primer, working from the bottom up, spraying in smooth, even strokes. The primer can be top coated in half an hour, so the boat exterior could be totally painted in the course of one sunny day!
-
When the primer dries, apply the turquoise lacquer. Again, work from the bottom up and spray in smooth, even strokes. Multiple thin coats work better than one thick coat.
-
Once you finish spraying, let the boat cure a few days before carefully flipping it over on its trailer. Use a shop vac to remove all of the debris that had settled inside (like leaves and sand). The inside needed a lot of scrubbing and some sanding also, to remove loose paint. I vacuumed, sanded with my drill attachment, and washed it in one afternoon. I didn't use a pressure washer for the inside, because a pressure washer can push too much water into wood (and my seats are wood), delaying dry time.
-
Once the inside is clean, let it dry overnight – covering with a tarp at night to protect from a surprise overnight rainfall. The frustrating thing about painting a boat is how much debris would float into it while I was trying to prime and paint, so I kept my shop vac on hand.
Once dried, start applying the primer, working in small sections. When the boat interior is primed, apply the lacquer – making sure you overlap with the exterior paint job and don’t leave any sections unpainted. -
Let the inside cure in the sun for a few days (but always cover it at night to protect from rain).
A few days later, we took her for a spin and dragged her up and down some sandy shores and the paint held up perfectly! But boats see a lot of wear and tear, getting dragged up on rocks and trailers and, as one neighbour put it, “trading paint with other boats.” That's why my all-turquoise paint job is perfect: I can easily touch up any chips or dents without worrying about overspray. In the end, I needed approximately 12 cans of primer and 18 cans of lacquer, but this is partly because it's super windy where I live (on Lake Superior). The number of cans you need will also depend on how big your boat is!
I love my turquoise boat makeover! If I kept my boat in the water all summer, I would have had to look into marine-grade paint, but for a boat that spends a little time in the lake but is stored onshore, I was able to use any paint that is designed to stick to metal. Now the boat looks just as cute parked on land as it does in the water, and I’ve been feeling even more inspired to get out on the lake.
Visit Rust-Oleum Canada’s Instagram, Facebook and YouTube for more tips and inspiration!
#SprayNewLife
Hi! I'm Tanya, the blogger behind Dans le Lakehouse. Make waves with my modern DIY project tutorials, budget-friendly home decor ideas, and lakeside inspired design vibes. Get inspired to make something by visiting me in the lakehouse here (www.danslelakehouse.com).
Other Materials:
- Shop vac and/or hand broom and dust pan
- Pressure washer or garden hose
- Rust-Oleum Specialty Lacquer Spray in Turquoise
- Rust-Oleum Self-Etching Primer
Discover More Projects
Locate a Rust-Oleum Retailer