Before
STEP 1: Cut all of your cedar to size.
STEP 2: Begin by assembling your shelf frames. Each frame will require (2) 2”x2”x15” and (2) 1”x2”x35” pieces of cedar. Using a combination of wood glue and 18ga brad nails, join your frames together. Be sure to use a speed square to ensure each frame is square as you go.
STEP 3: Add the bases to your shelves. Each shelf will require (3) 1”x5”x32” pieces of cedar for the base. Attach the 1x5s to one another and to the frame using pocket hole screws.
STEP 4: Attach your three shelves to the 2”x2”x38” cedar legs using a combination of wood glue and pocket hole screws.
Note: In this case, the bottom of each shelf is spaced 2”, 24”, and 36” respectively, from the bottom of the cart, but spacing is completely customizable based on personal preference.
STEP 5: Drill a hole in the back of one of the 1x5s to accommodate the neodymium magnets that will catch your bottle caps. Using instant glue, drop your magnets into the predrilled hole and allow the glue time to dry.
Note: The closer the magnets can be placed to the front of the 1x5, the stronger they will be, but be sure not to drill right through your piece.
STEP 6: Add the walls to each side of your beverage station using wood glue and 18ga brad nails. You’ll require (3) 1”x5”x36” pieces of cedar for each side.
STEP 7: (Optional) For a cleaner look, add 1”x1” caps using wood glue and 18ga brad nails to the top of your walls to conceal the tops of the 1x5s.
STEP 8: Use your random orbital sander to sand your beverage cart on all sides, first with 80-grit and then again with 120-grit sandpaper. Be sure to round over any sharp edges.
STEP 9: With a clean tack cloth, wipe away any sawdust that may be left on the piece in order to prepare it for staining.
STEP 10: Apply a coat of WATCO Tung Oil to the cart and allow it to dry overnight. The tung oil will bring out the natural beauty and colour of the cedar.
STEP 11: Apply 2-3 coats of Varathane Premium Diamond Wood Finish Outdoor to the cart. Allow each coat to dry and sand lightly with 220-grit sandpaper between each coat.
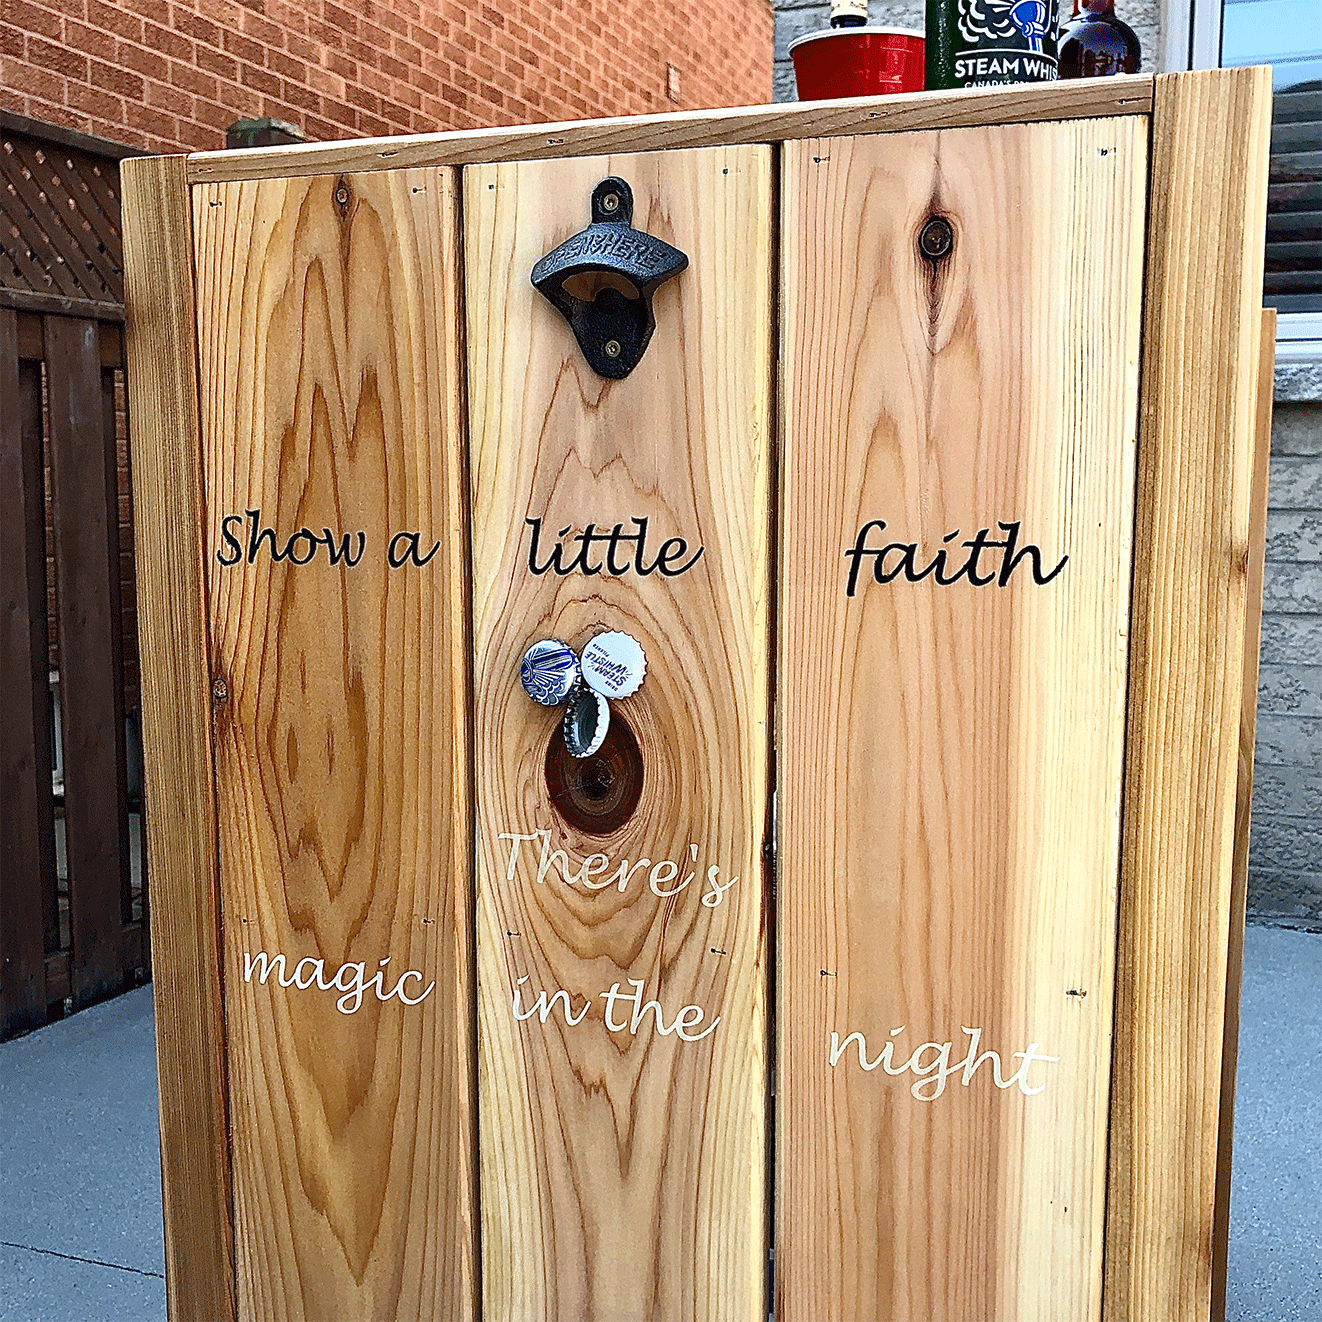
STEP 12: Attach the bottle opener approximately 6” above the magnet location in your side wall.
STEP 13: (Optional) Using a stencil and your favourite colour of Rust-Oleum Painter’s Touch 2X Ultra Cover Paint, add a favourite quote or design to the side of your cart.
STEP 14: (Optional) Split your quote or design from Step 13 in half and complete the second half using Rust-Oleum Glow In The Dark MAX Aerosol for a fun surprise when the sun goes down.
Note: Be sure to use a stencil and painter’s tape to tape off the surrounding area before spraying.
Check out the Beverage Cart Live Edge Coasters project to complement this project.
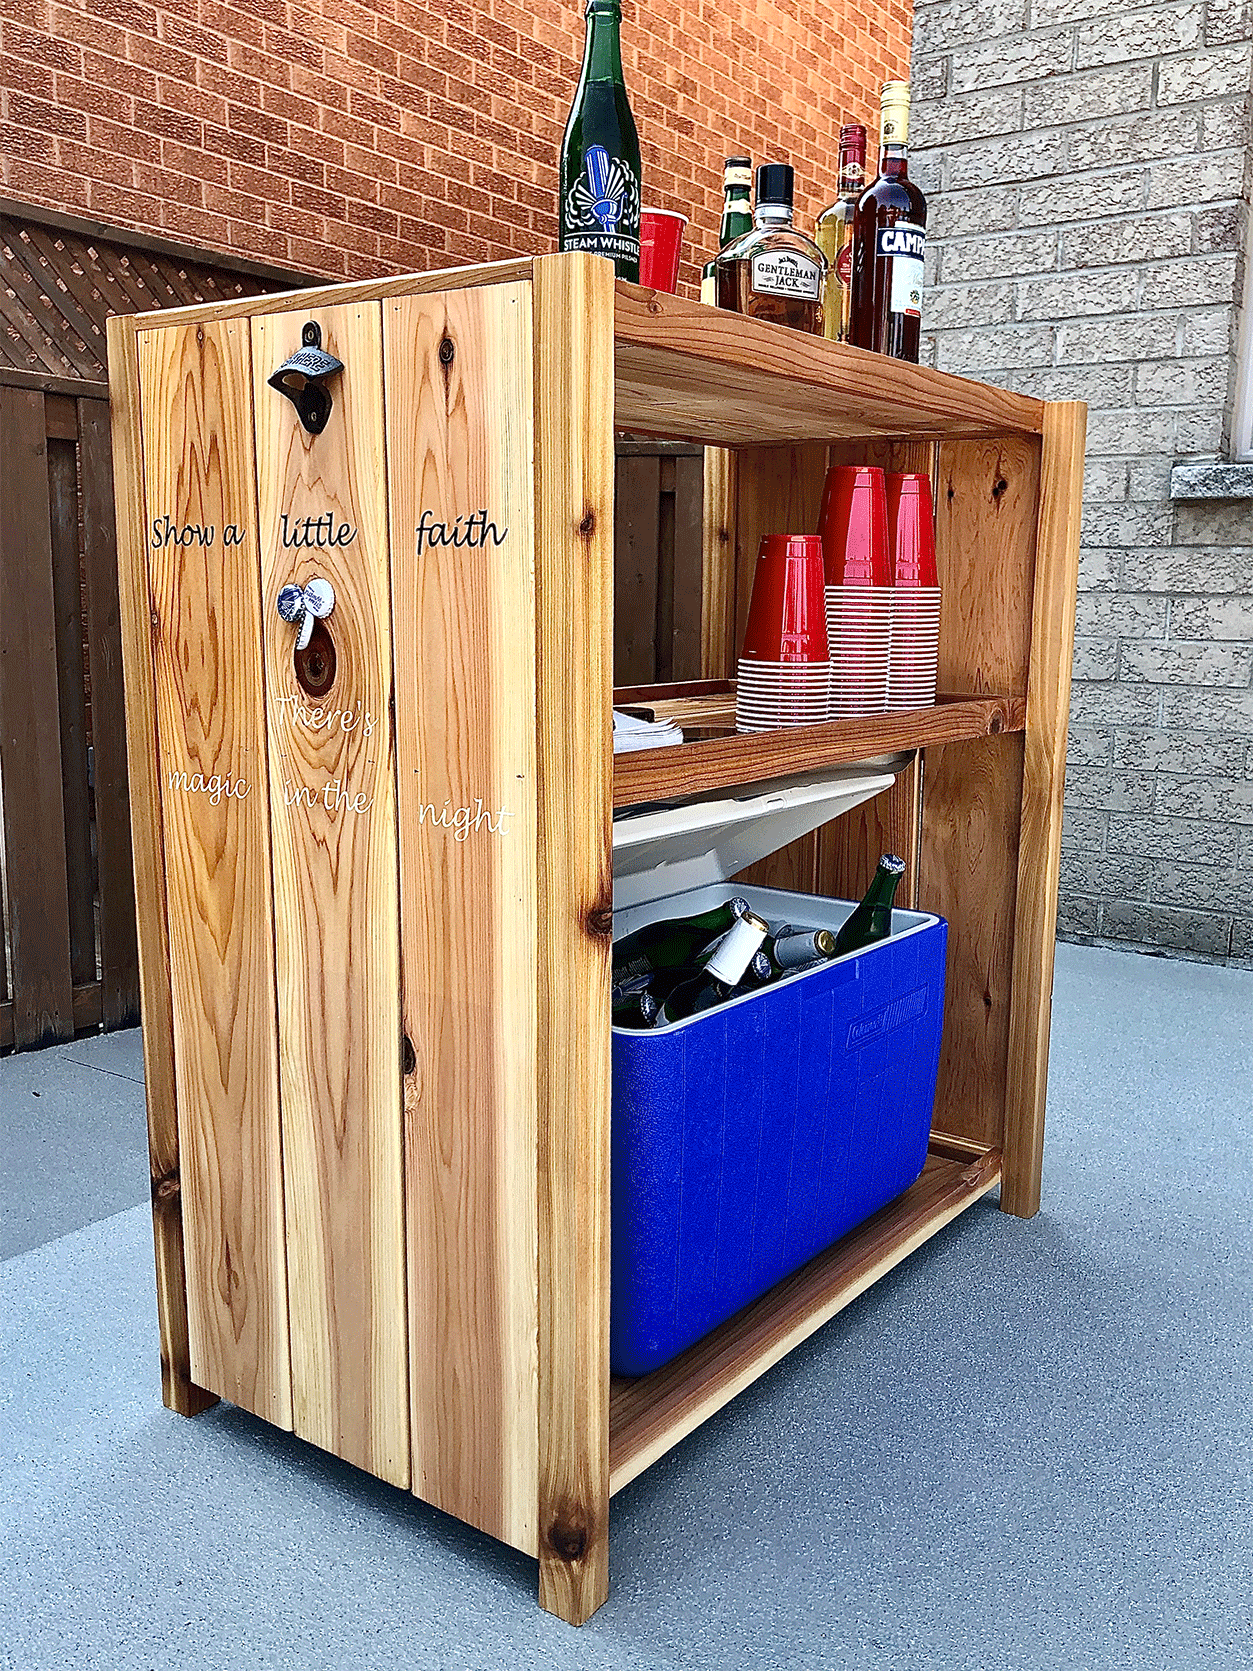
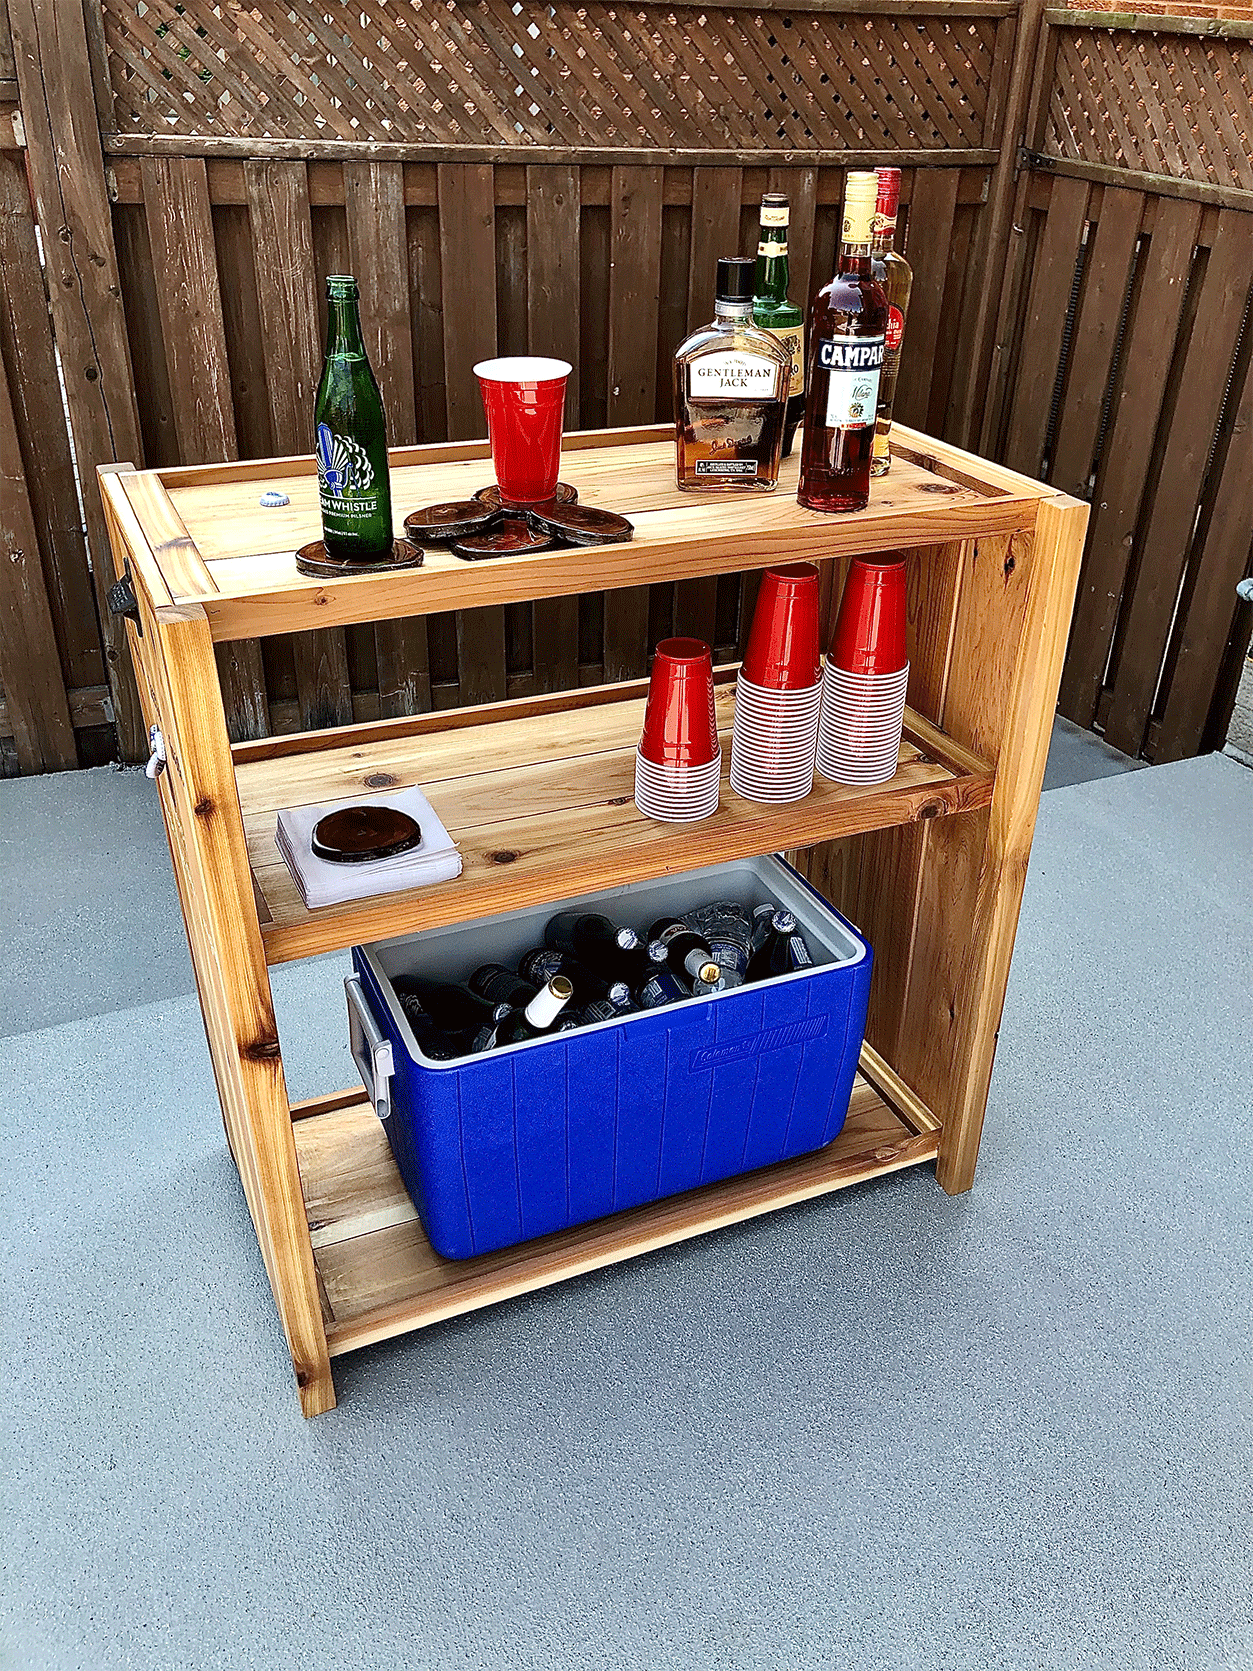
ENJOY!!!
Visit @RustOleumCa and @minspiredliving for more tips and inspiration!
Prepared by:
M Inspired Living
Other Materials:
- 4 – 2x2 cedar 38” long (legs)
- 6 – 2x2 cedar 15” long (shelf frames)
- 6 – 1x2 cedar 35” long (shelf frames)
- 6 – 1x5 cedar 36” long (side walls)
- 9 – 1x5 cedar 32” long (shelves)
- 2 – 1x1 cedar 15” long (side wall caps)
- Tack Cloth
- Clean shop towels
- 2 Neodymium Magnets
- Wall-mount Bottle Opener
- Miter saw
- Random orbital sander
- Impact driver or screwdriver
- Clamps
- Brad Nailer
- Speed square
- Waterproof wood glue
- Wood Screws
- Instant glue
- Sandpaper: grits 80, 120, 220
- Painter's Tape
Discover More Projects
Locate a Rust-Oleum Retailer