After
Before
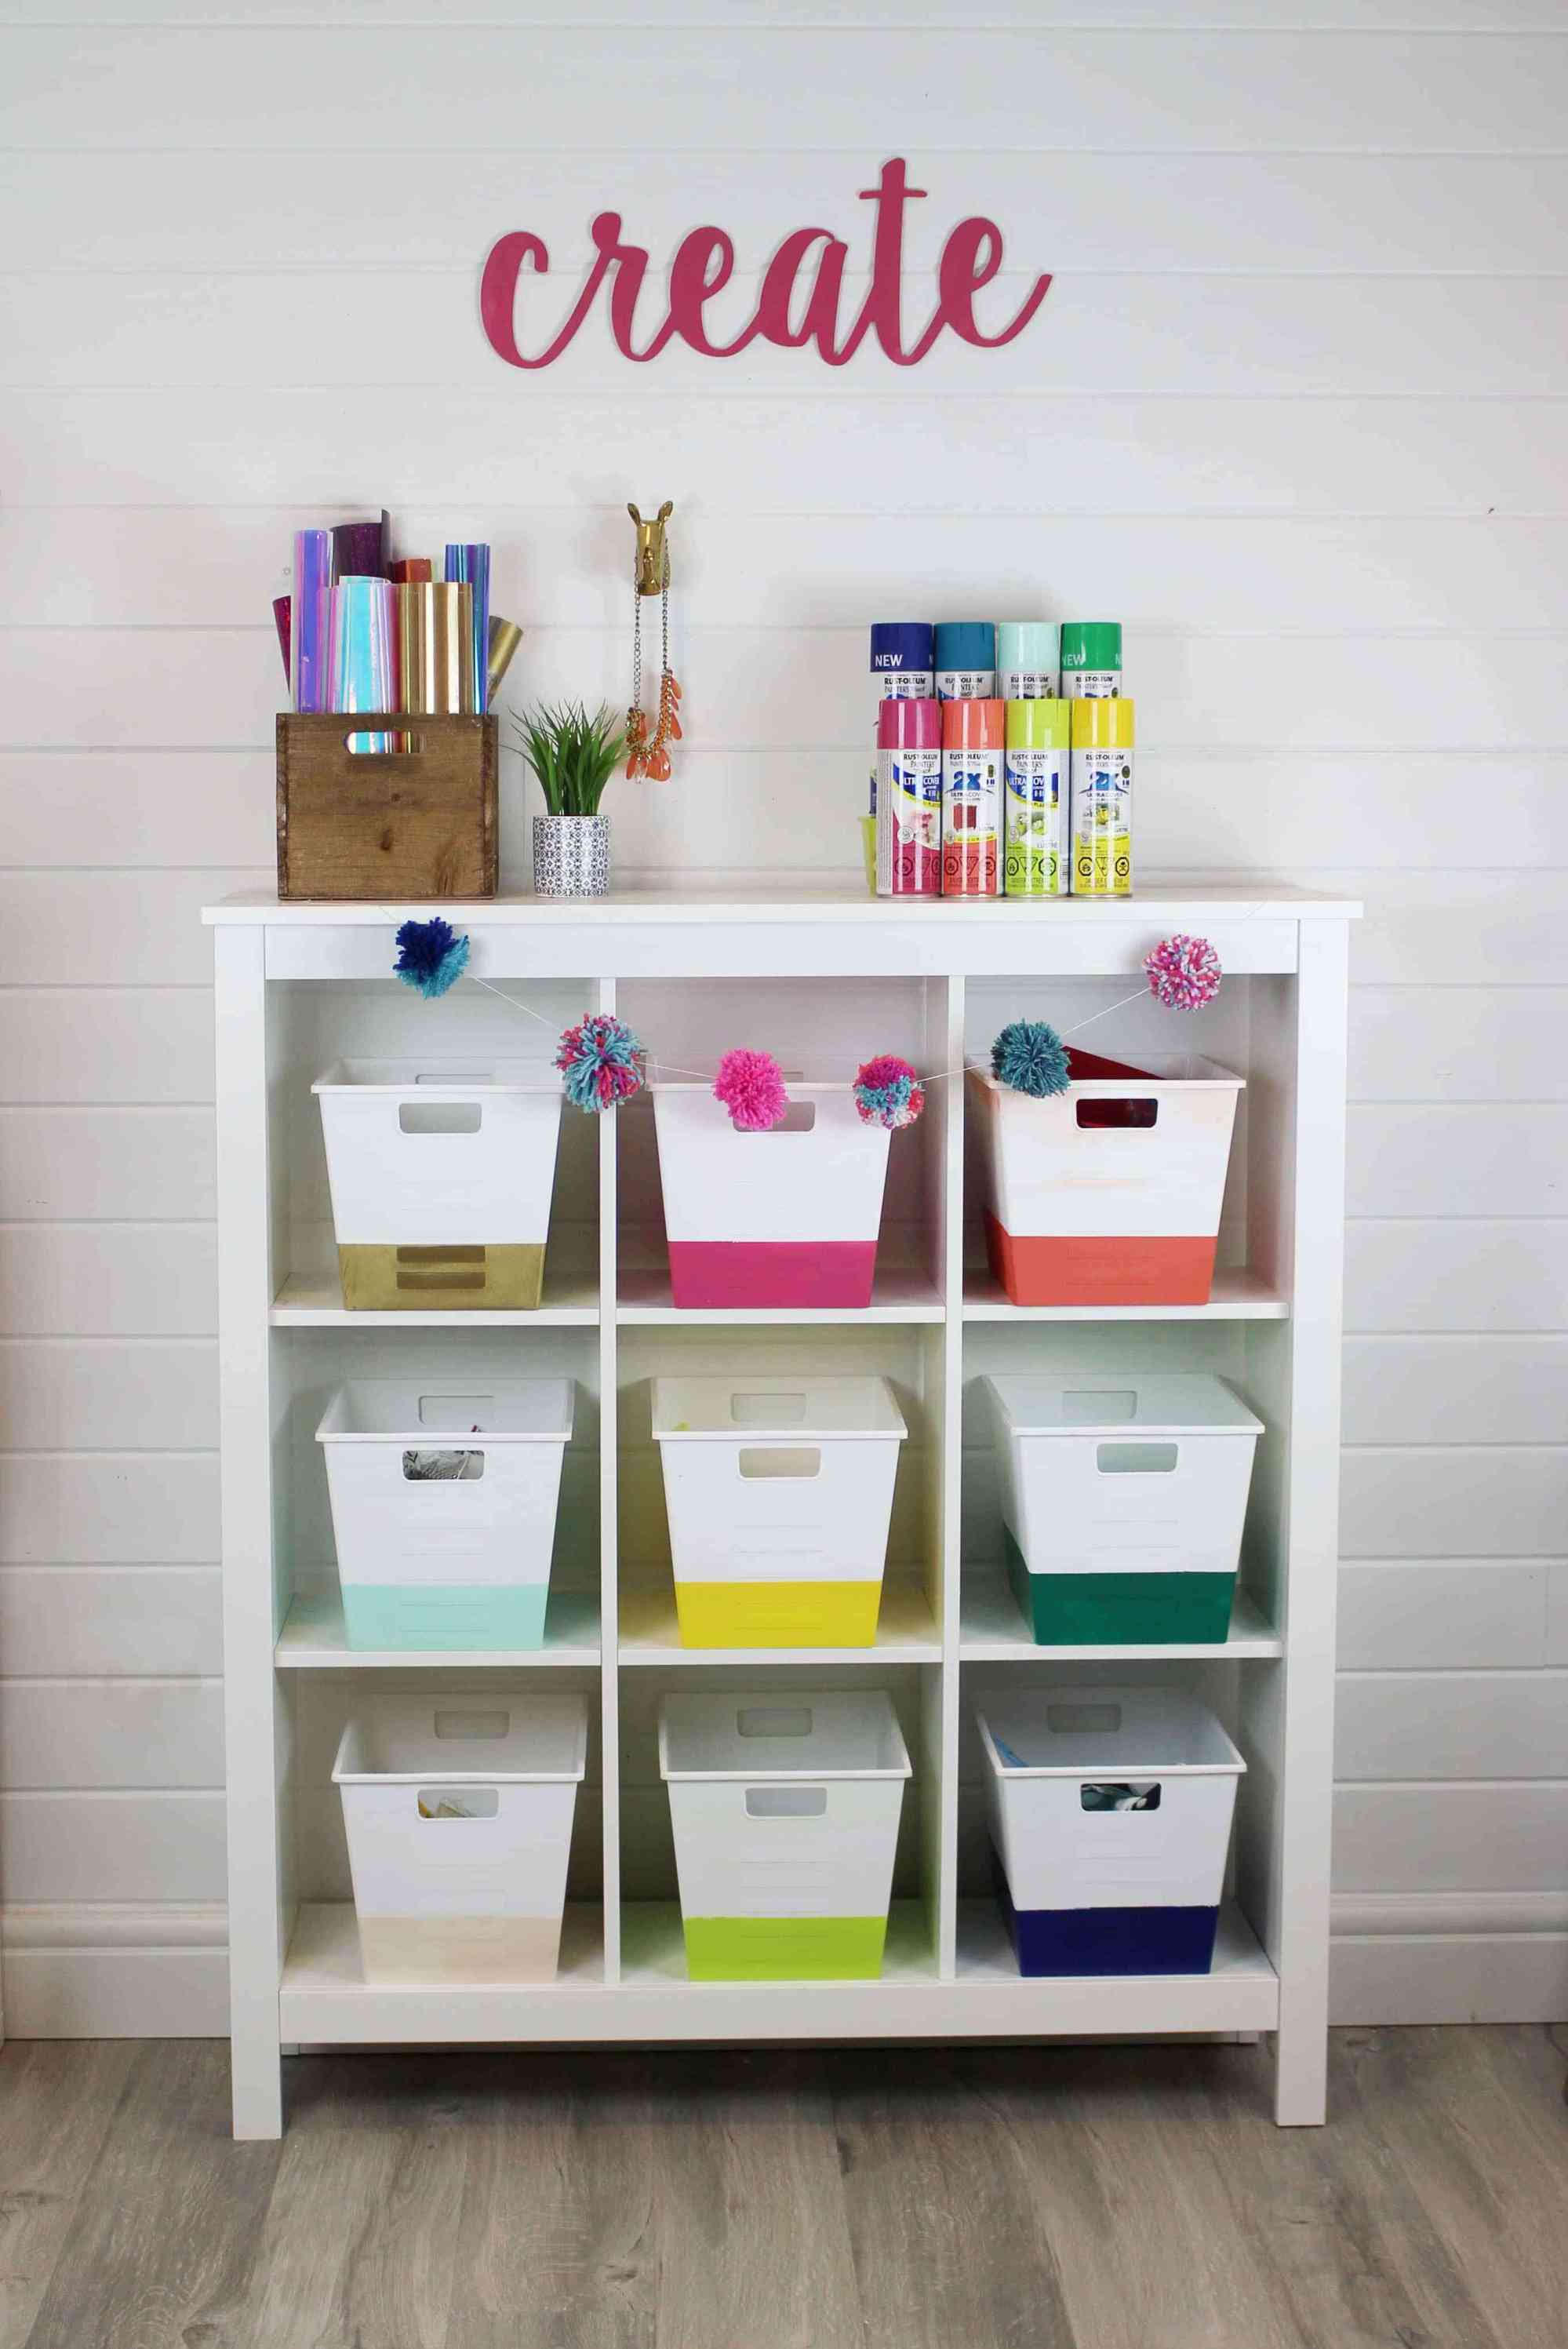
Looking for craft room organization ideas before the school year starts? If you struggle to keep things in their place, you might consider an unconventional organizing method – sorting by colour!
-
Prep bins – make sure they are clean and sticker free. If needed, wipe with Krud Kutter to help remove the stickers.
-
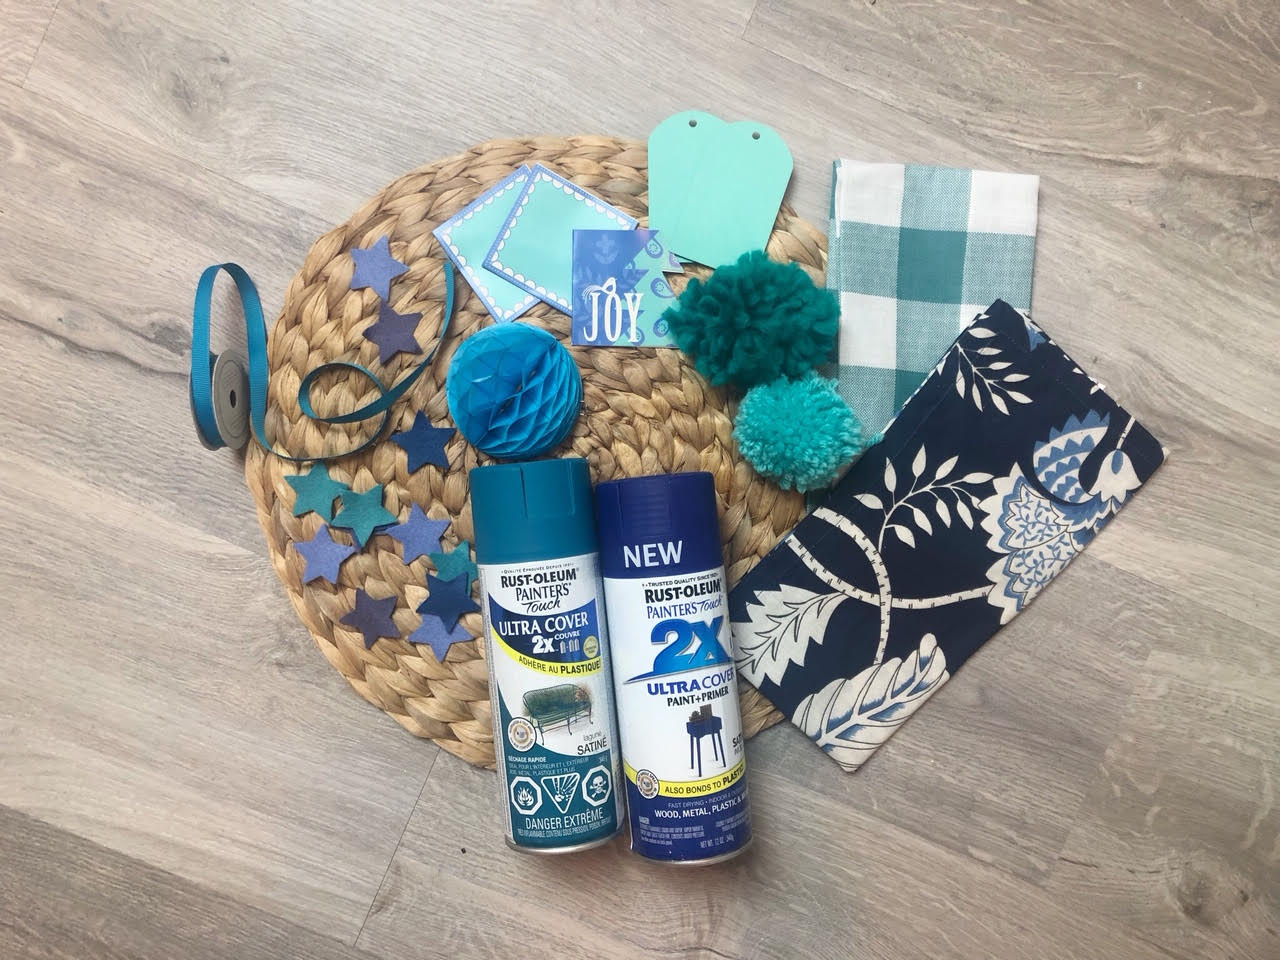
Tape the bins. Every bin had a few inches of paint area and was taped off with painter’s tape.
- Cover the areas you don't want painted. I used a really wide painter’s tape, added a garbage bag over the top, and taped it on top of the tape. This was mostly to keep the spray from splattering where I didn't want it.
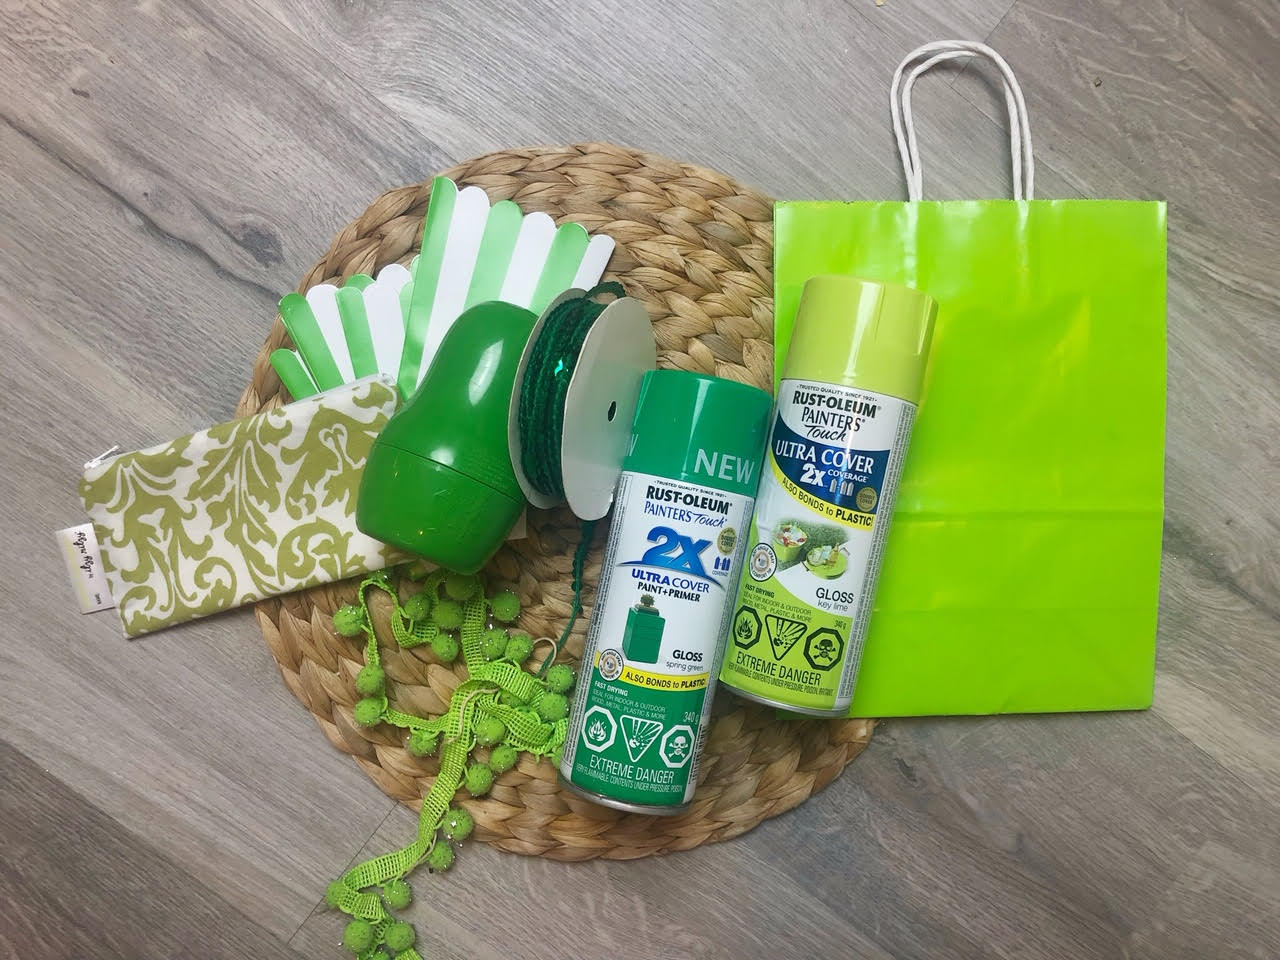
- Spray the paint using slow, back-and-forth motions.
-
Remove tape and garbage bag.
- Allow the bins to dry fully and fill the bins with all the pretty-coloured supplies you have!
Visit Rust-Oleum Canada’s Instagram, Facebook and YouTube for more tips and inspiration!
#SprayNewLife
Brooklyn Berry Designs is an interior lifestyle blog written by Brooke Berry. Brooke is a wife and mom of four boys living in Calgary, AB, and has been blogging since 2007. Follow along for design inspiration, DIY projects and daily life!
Other Materials:
- Painter's Tape
- Storage Bins
Locate a Rust-Oleum Retailer